
A Survey showed that 50% of homeowners plan on doing home improvement projects themselves. While 91% of homeowners believe their home needs renovations or repairs.
Many homeowners like the challenge of handling home improvements themselves. The problem with this is that some projects are simply best left to the professionals.
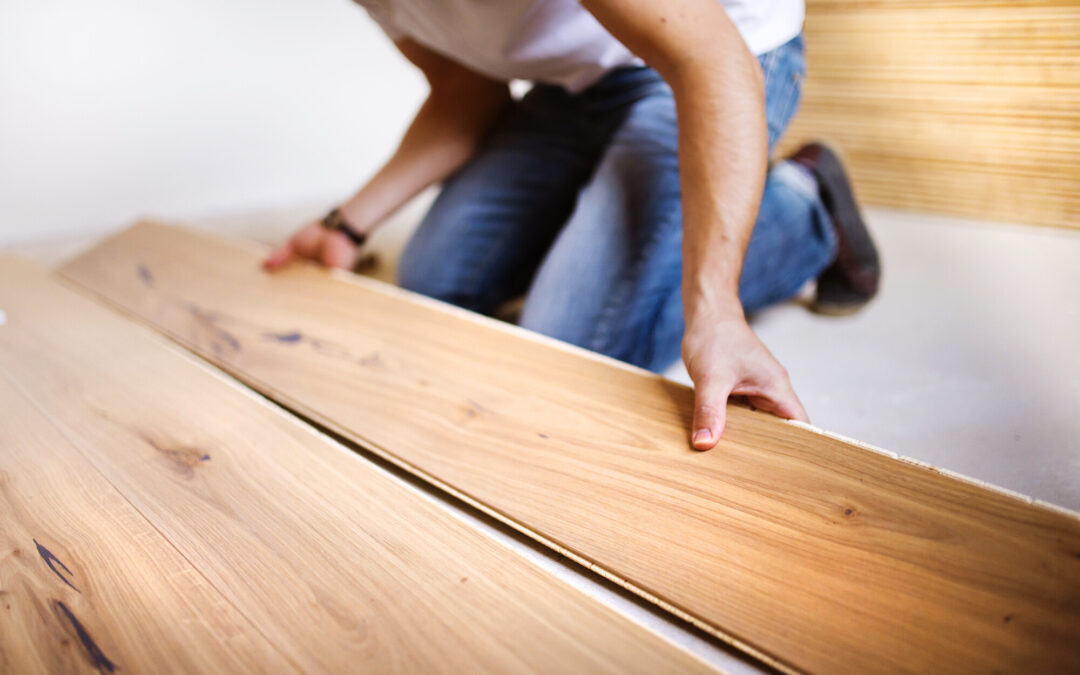
If you are planning on coating your garage floor, there are certain things to consider. This may not be a project that you want to take on by yourself.
Keep reading to find out more about why you should not DIY floor coatings.
1. Incorrect Prep Work
The first mistake you can make when coating garage flooring starts with the prep work. No matter what type of floor you are coating, you have to prepare the surface for it to stick.
Concrete surfaces need prepping beforehand so that the coating is a long-term and durable solution. Things like cracks, stains, and pitting need to be prepared before you do this.
This preparation usually includes using a machine to smooth the surface of the concrete – called mechanical preparation. This helps to smooth out any unevenness as well as remove anything from the surface.
There may be a previous coat that needs to be removed or things like grease and oil stains. This helps to prime the surface and helps the coating to stick.
If you don’t do this step the right way, the rest of the project is going to be doomed to fail.
2. Floor Peeling
Concrete flooring is also at a greater risk of peeling if you do this project yourself. The floor coating products can begin to separate and peel if it wasn’t installed properly, or if you’re using inferior products.
This can happen for several reasons, such as not preparing the surface the right way. Any kind of grease or debris on the concrete surface can result in the coating not attaching as it should.
Temperature changes while you are applying the coating can also result in peeling later on. Many types of floor coatings do not adhere to extremely smooth surfaces very well.
That is why a machine is usually used to mechanically prep the surface of the garage flooring to give it grit.
3. Unsightly Air Bubbles
Some DIY floor coating projects can also develop troublesome air bubbles. This is going to give your floor a very unprofessional appearance.
This can happen if the coating is applied under direct sunlight or cold temperatures. It may also happen if the floor is too porous and trapped air rises to the surface.
You may have not mixed the polyurea solution completely. In some instances, mixing it too fast can trap air bubbles, which will affect the concrete surface.
Not only are air bubbles unpleasant to look at, but they can also make your floor more vulnerable. These hinder the coating from doing its job and being as durable and long-lasting as it should be.
4. You Need the Right Equipment
One part of a garage floor coating project that people neglect is the equipment. You may think that you are saving money doing this yourself, but you will still have to buy the right tools and equipment.
You can’t just use a bucket and a paintbrush to apply a polyurea floor coating. You are usually going to have to buy rollers, brushes, specialty tools, and the coatings themselves.
You are usually going to need to buy more supplies than you think you need. Chances are, certain supplies may break, or you need a wider variety than you planned.
Even the “all-in-one” boxed floor coating kits at hardware stores will fall short. These may seem like a good idea, but they won’t have everything you need.
They also have a poor reputation when it comes to the amount of floor coating product that is included. The last thing that you want is to run out of supplies in the middle of the project.
5. Mistakes Are Hard to Reverse
Something that no one wants to talk about is how difficult garage flooring mistakes are to fix. You may feel confident about this DIY floor project, but it could always go wrong..especially if you’re a floor coating newbie.
If you make a mistake along the way, it is very hard to reverse. Once you have applied the coating and it has cured, there is very little that can be fixed.
This is the type of job that must be done right the first time, otherwise, the results are going to be disappointing. There is no going back and fixing mistakes, especially not if the coating has cured.
Most mistakes start to show themselves days or weeks after the project. At this point, it is too late to make any repairs to the floor coating.
The only solution would be to remove the floor coating and try again.
6. Time Commitment
Another detail about DIY floor coating projects is the time commitment involved. This is a project that takes many hours to complete in several different steps.
You are usually not going to be able to do it all in one day since it would take so long. Most people have to prepare the concrete flooring and then add the coating the next day.
Both steps, all on their own, can take the entire day, depending on the size of the project. Unlike with painting, once you start coating the floor, you can’t just stop and walk away for a few hours.
Once you make this commitment, you have to stick to it because you can’t leave it half-finished.
7. Durability Issues
There is also the concern of how durable your floor coating is going to be if you DIY it. It may look good, but that does not mean it has been done correctly.
There is a chance that as you use your floor, you will start to notice issues. Things like prep work, coating mixing, timing, and temperature all impact the final result.
These things can help your floor coating to be hard and durable or weakened. If something went wrong along the way, the coating may start to peel or chip as it is in use.
Moisture could have even built up under the coating between it and the concrete surface. This can happen if the polyurea and the concrete are at two very different temperatures.
8. Experience Is Important
Many DIY floor coating projects end up failing due to a lack of experience. There are a lot of home projects that you can throw together without any real professional experience in that area.
Unfortunately, using a polyurea floor coating is not one of those projects that you can just slap together. This requires skill, knowledge, and training so that mistakes can be avoided.
In many instances, the cost you pay to hire professionals is for the experience they have. Anyone can do basic labor, but you have to understand how to do it correctly so that it lasts.
9. Uneven Color
A very important part of installing a floor coating is preparing the products. You will need to properly mix the polyurea coating so that it is ready to be applied.
If you do not mix it enough, it could result in patchy coloring. Even if the solution looked mixed, it takes some specific steps to get it to the point where it is ready to apply.
Any residual contamination on the concrete surface can also create color issues. You may not have noticed the grease at first until it begins to affect the color of the coating in that area.
10. Overall Expenses
Possibly the most important aspect of this project is how expensive it is. You may have decided to do a DIY floor coating because you wanted to save money at first.
The problem is that this is not a guarantee when you start this project. Things happen along the way, and before you know it, you may have gone well over your budget.
The benefit of hiring professionals is that you pay the price that they give you. They know what they are doing, and they are not usually going to have expenses come up along the way.
If you happen to make any of these mistakes, that can also be very expensive. You may have to redo the floor coating entirely or try different types of floor coatings.
If you have given up, you may end up hiring professionals anyway, paying to have the job done twice.
Why You Shouldn’t DIY Floor Coatings
If you are considering doing a DIY floor coating for your garage, don’t do it. There are so many things that can go wrong with this kind of home improvement project.
Do you want to hire someone to install your floor coating? Contact us today at Garage Force to book an appointment.